Suite2p vs Cellpose#
Suite2p is a pipeline in which cellpose sits as software responsible for segmentation, just one of the steps involved in calcium imaging.
Cellpose itself is useful in non-calcium imaging paradigms and is much more actively developed. However, we may wish to incorperate some pre/post processing routines from suite2p to help sharpen our 2D image which is segmented.
Eventually, we would like to consolidate these workflows.
Overview#
Feature |
Suite2p ( |
|
|---|---|---|
Preprocessing |
Binning, denoising, HP filtering |
Simple projection |
Image options |
4 computed images |
Direct projection |
Parameter control |
Suite2p ops dict |
Cellpose native |
Output format |
Suite2p (stat.npy) |
Both Suite2p + Cellpose GUI |
Speed |
Slower (more steps) |
Faster |
Suite2p Cellpose Pipeline#
When you use lsp.pipeline() with anatomical_only > 0, Suite2p processes your data through several steps before running Cellpose:
Temporal Binning → 2. PCA Denoise → 3. HP Filter → 4. Compute Image → 5. Cellpose
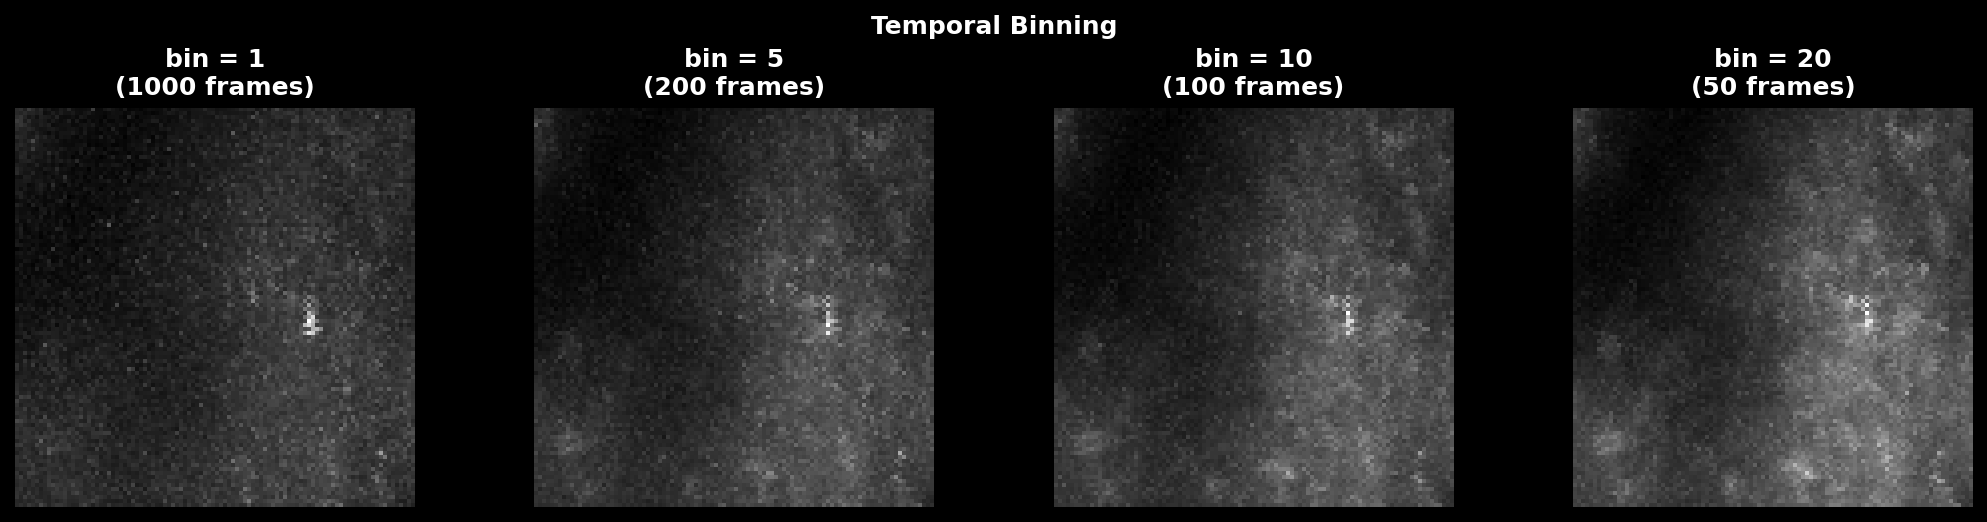
Temporal Binning#
Averages consecutive frames to reduce noise and computation:
# controlled by ops["nbinned"] (default: 1000)
bin_size = max(1, nframes // nbinned, tau * fs)
Scale: Values 1-20 are typical. Suite2p default targets ~1000 total binned frames.
Use high values (10-20): Noisy data, many frames, want faster processing Use low values (1-5): Short recordings, want to preserve transient dynamics
PCA Denoising (optional)#
If denoise=1 (default), Suite2p applies PCA-based spatial denoising.
# controlled by ops["denoise"] (default: 1)
mov = pca_denoise(mov, block_size=[32, 32], n_comps_frac=0.5)
Effect: Reduces high-frequency spatial noise while preserving cell structures.
Temporal High-Pass Filter#
Removes slow baseline drift by subtracting a running average:
# controlled by ops["high_pass"] (default: 100)
mov = temporal_high_pass_filter(mov, width=high_pass)
Scale: Values 10-500 frames. Suite2p default is 100.
Use high values (100-500): Preserve slower dynamics, less aggressive filtering Use low values (10-50): Remove more baseline, emphasize fast transients Use 0: No filtering (keep raw dynamics)

Anatomical Mode#
Suite2p computes different images for Cellpose based on anatomical_only:
Mode |
Formula |
Use case |
|---|---|---|
1 |
\(\log(\max / \text{mean})\) |
Activity contrast (default) |
2 |
\(\text{mean}\) |
Stable anatomy |
3 |
\(\text{enhanced mean}\) |
High contrast |
4 |
\(\max\) |
Direct max projection |
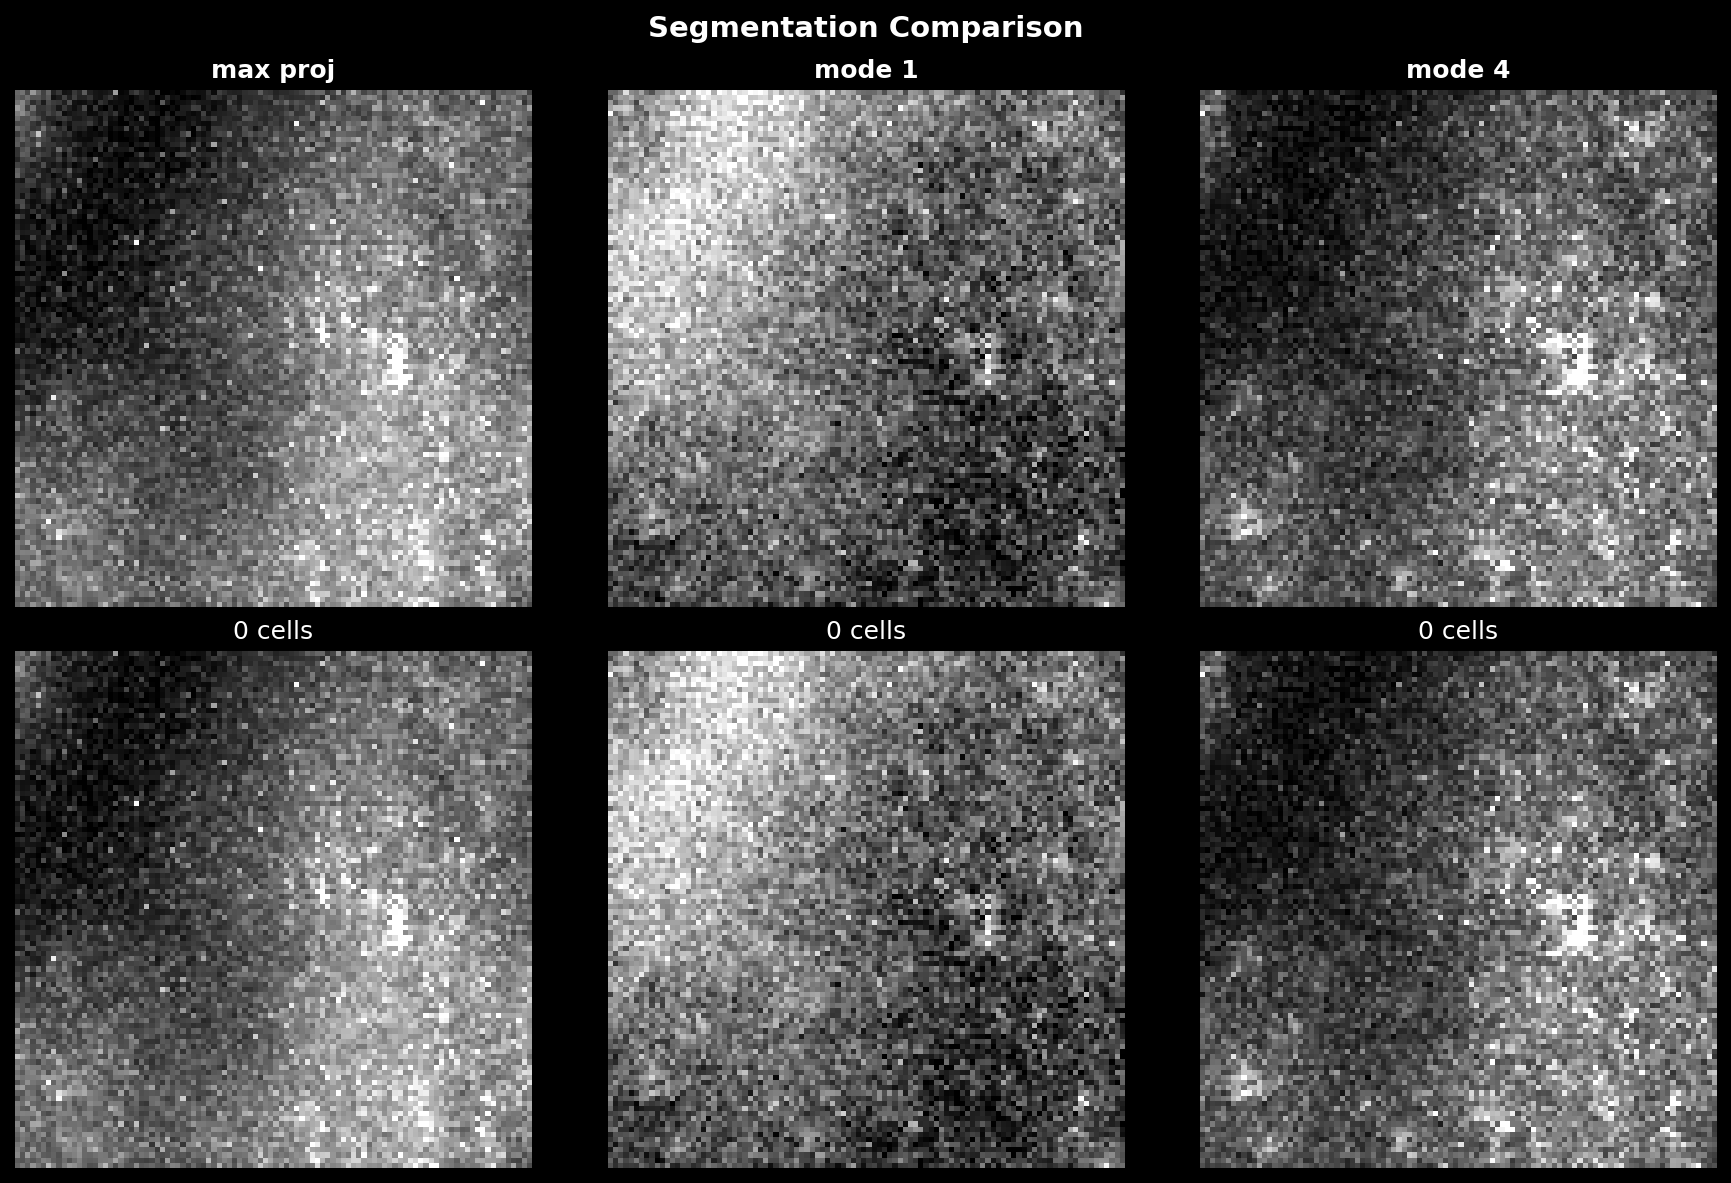
Mode 1 emphasizes active pixels; Mode 4 is closest to direct lsp.cellpose().

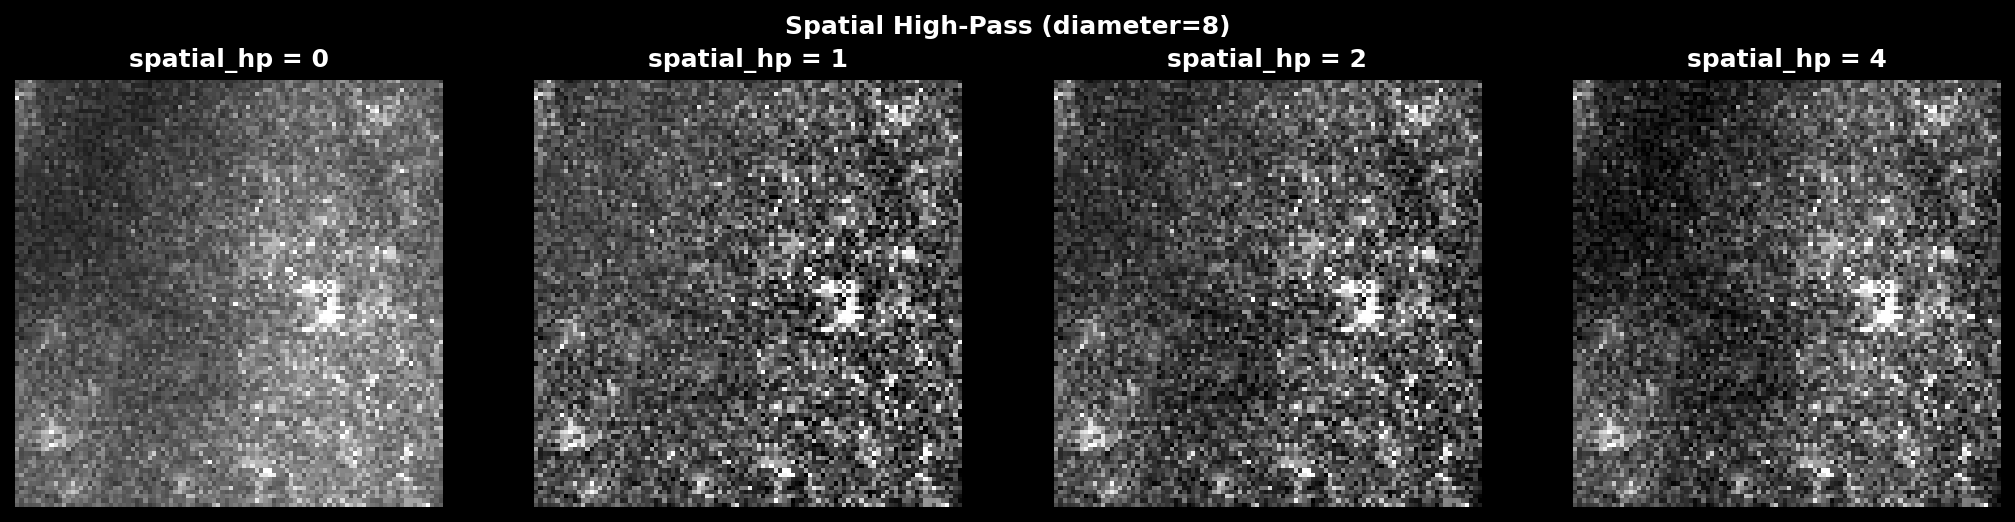
Spatial High-Pass (optional)#
Removes large-scale intensity gradients by subtracting a Gaussian-blurred version:
where \(\sigma = \text{diameter} \times \text{spatial\_hp\_cp}\).
# controlled by ops["spatial_hp_cp"] (default: 0)
img = normalize99(img)
img -= gaussian_filter(img, diameter * spatial_hp_cp)
Scale: Values 0-4 (multiplier on cell diameter). Suite2p default is 0 (off).
Use 1-2: Mild gradient removal, uneven illumination Use 3-4: Aggressive, may remove cell bodies Use 0: No spatial filtering
Cellpose Segmentation#
Finally, Suite2p runs Cellpose on the processed image:
masks = model.eval(img, channels=[0, 0], diameter=diameter,
                   cellprob_threshold=cellprob_threshold,
                   flow_threshold=flow_threshold)
Direct Cellpose Pipeline (lsp.cellpose())#
lsp.cellpose() bypasses all Suite2p preprocessing and runs Cellpose directly:
Load Data → 2. Projection → 3. Cellpose
Load Data#
Load any format via mbo.imread():
arr = imread(input_path) # supports TIFF, Zarr, HDF5, etc.
Temporal Projection#
Compute a single projection image:
# controlled by projection parameter
proj = np.max(arr, axis=0)  # 'max', 'mean', 'std', or 'percentile'
Projection |
Formula |
Best for |
|---|---|---|
|
|
Activity peaks |
|
|
Stable structure |
|
|
Activity variance |
|
|
Robust peaks |

Run Cellpose#
Run Cellpose with full parameter control:
masks, flows, styles = model.eval(
    proj,
    diameter=diameter,
    flow_threshold=flow_threshold,
    cellprob_threshold=cellprob_threshold,
    batch_size=batch_size,
    # ... all Cellpose params available
)
When to Use Each#
Use Suite2p (anatomical_only) when:#
You want functional ROI detection with trace extraction
Your data has significant noise that benefits from denoising
You want automatic classification and ROI statistics
You need to integrate with the full Suite2p workflow
Use lsp.cellpose() when:#
You want fast anatomical segmentation only
You need fine control over Cellpose parameters
You want to compare different projections quickly
You need Cellpose GUI-compatible output
Your data is already preprocessed
Parameter Comparison#
Suite2p Parameters#
lsp.pipeline(
    input_data,
    ops={
        "anatomical_only": 4,      # 1-4: image mode
        "nbinned": 1000,           # temporal binning
        "denoise": 1,              # PCA denoising
        "high_pass": 100,          # temporal HP filter
        "spatial_hp_cp": 0,        # spatial HP filter
        "diameter": 8,             # cell diameter (pixels)
        "cellprob_threshold": 0,   # cell probability
        "flow_threshold": 1.5,     # flow error threshold
    }
)
Direct Cellpose Parameters#
lsp.cellpose(
    input_data,
    projection="max",              # 'max', 'mean', 'std', 'percentile'
    model_type="cyto3",            # Cellpose model
    diameter=8,                    # cell diameter (pixels)
    cellprob_threshold=0,          # cell probability
    flow_threshold=0.4,            # flow error threshold
    min_size=15,                   # minimum mask size
    batch_size=8,                  # GPU batch size
    do_3D=False,                   # 3D segmentation
)
Output Comparison#
Suite2p Output#
plane0/
├── stat.npy          # ROI statistics
├── iscell.npy        # classification
├── F.npy             # fluorescence traces
├── Fneu.npy          # neuropil traces
├── spks.npy          # deconvolved spikes
├── ops.npy           # parameters + images
└── data.bin          # registered movie
lsp.cellpose() Output#
cellpose/
├── masks_plane00.tif       # viewable label image
├── masks_plane00.npy       # numpy masks
├── stat_plane00.npy        # Suite2p-compatible stats
├── iscell_plane00.npy      # all accepted
├── projection_plane00.tif  # image used for segmentation
├── cellpose_seg_plane00.npy  # Cellpose GUI format
├── flows_plane00.npy       # flow fields
└── cellpose_meta.npy       # metadata
Segmentation Comparison#
The following figure compares segmentation results across different preprocessing methods: